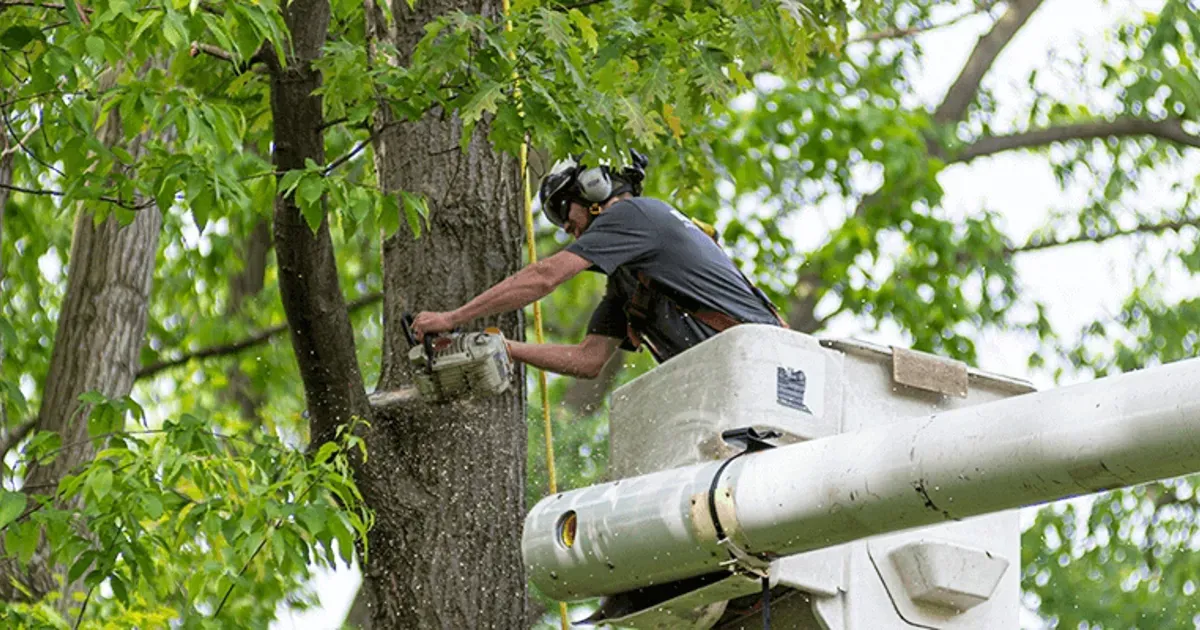
Climbing and cutting down a tree can be an exhilarating and challenging task. However, it’s important to prioritize safety at all times. Whether you’re a professional arborist or an adventurous DIY enthusiast, mastering the art of safely cutting down a tree while climbing is essential. In this guide, we’ll walk you through the steps to ensure a successful and secure tree removal process.
**Step 1: Proper Planning and Preparation:**
Before embarking on this task, it’s crucial to plan and prepare meticulously. Evaluate the tree’s condition, size, and location. Determine whether you have the necessary skills and equipment for the job. Make sure you have the following tools:
1. **Climbing Gear:** Utilize certified climbing gear, including harnesses, ropes, carabiners, and helmets. Ensure your gear is in excellent condition and properly fitted.
2. **Chainsaw:** Opt for a reliable chainsaw with a sharp chain and an appropriate guide bar length for the tree’s diameter. Familiarize yourself with its operation and safety features.
3. **Personal Protective Equipment (PPE):** Wear appropriate PPE, including safety glasses, gloves, hearing protection, and a hard hat. A full-body chainsaw-resistant suit is highly recommended.

**Step 2: Assess the Tree:**
Thoroughly evaluate the tree’s health, stability, and surrounding environment. Look for signs of decay, disease, or structural weaknesses. Take note of obstacles such as nearby buildings, power lines, or other trees that might interfere with the tree’s fall.
**Step 3: Climbing Techniques:**
Before you begin cutting, ensure you are proficient in tree climbing techniques. Ascend using the approved climbing methods and secure your harness properly. Always maintain three points of contact and follow industry-standard practices to avoid unnecessary risks.
**Step 4: Proper Limb Removal:**
Start by removing smaller limbs from the lower portion of the tree. Use proper cutting techniques, such as the three-cut method, to prevent the branch from falling and causing injury. Keep in mind that removing limbs incrementally reduces the weight of the tree, making it safer to cut.
**Step 5: Notching and Felling:**
Once you’ve removed enough limbs and reduced the tree’s weight, it’s time to make the notch and fell the tree. Create a directional notch on the side of the tree facing your intended falling direction. Ensure the notch is properly angled and positioned to guide the tree’s fall accurately.
**Step 6: Make the Back Cut:**
Make a horizontal back cut on the opposite side of the tree from the notch, slightly above the bottom of the notch. This cut should meet the notch, allowing the tree to fall along the intended path.
**Step 7: Tree Falling:**
As the tree starts to fall, move quickly and safely away from the falling zone. Maintain visual contact with the tree at all times and stay alert to any changes in its trajectory.
**Step 8: Post-Felling Safety:**
After the tree has fallen, ensure the area is safe before approaching it. Remove your climbing gear and carefully inspect the felled tree for any unexpected movement or hazards.
Cutting down a tree while climbing can be a rewarding experience, but safety should always be the top priority. Proper planning, equipment, and techniques are essential for a successful and secure tree removal process. By following the steps outlined in this guide, you can master the art of safely cutting down a tree while climbing and achieve your goal while minimizing risks. Remember, if you’re unsure about any aspect of the process, it’s always best to consult with a professional arborist to ensure the safety of yourself and those around you.

