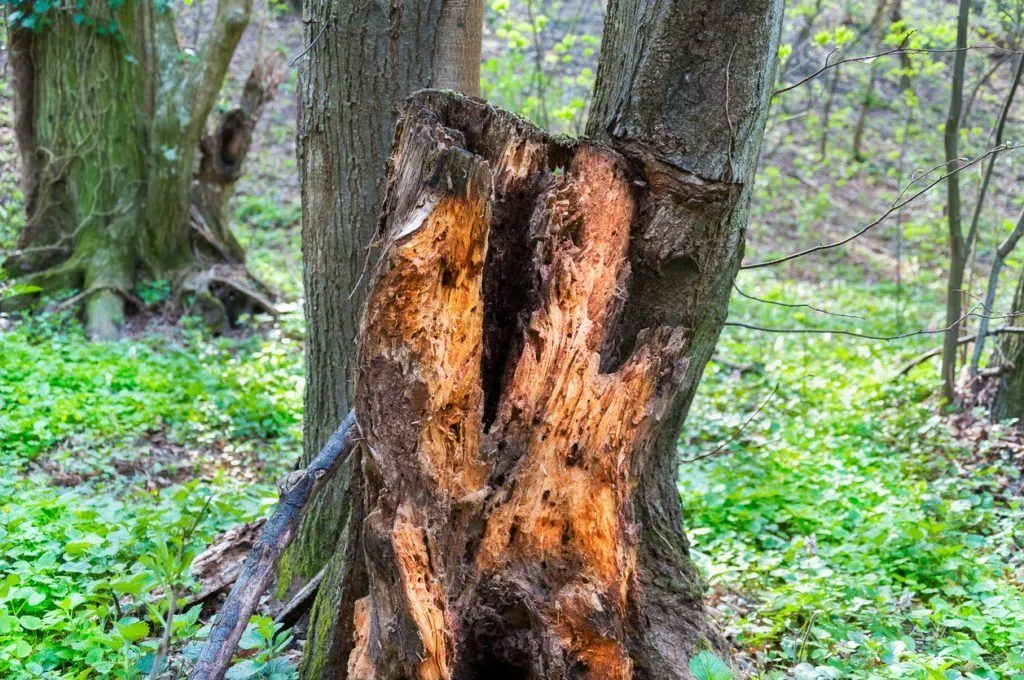
A dead and rotten tree on your property can pose significant safety hazards and potentially cause damage to your surroundings. Removing such a tree is crucial to ensure the safety of your home, family, and neighboring properties. However, the process of removing a rotten dead tree requires careful planning and execution to avoid accidents and further property damage. In this blog post, we will provide a step-by-step guide to safely removing a rotten dead tree from your premises.
Step 1: Assess the Tree’s Condition:
Before initiating the removal process, conduct a thorough assessment of the dead tree’s condition. Look for signs of decay, such as hollowed-out areas, cracks, or missing bark. Determine if the tree is leaning or has any unstable branches that could pose a risk during removal. If the tree is near any structures or utility lines, take note of these potential obstacles.

Step 2: Plan the Removal:
Create a detailed removal plan that includes a clear direction for the tree’s fall. Identify a safe drop zone away from structures, vehicles, and other trees. For larger trees or those in confined spaces, consider hiring a professional tree removal service. They have the expertise and specialized equipment to handle challenging removals safely.
Step 3: Obtain Necessary Permits:
Check local regulations and obtain any required permits for tree removal. Some areas may have specific rules regarding the removal of dead trees, especially if the tree is close to a waterway or considered a protected species.
Step 4: Safety Gear and Equipment:
Wear appropriate safety gear, including a hard hat, gloves, eye protection, and sturdy footwear. If using chainsaws or other power tools, ensure they are in good working condition and follow the manufacturer’s instructions.
Step 5: Prune the Tree:
Trim off any dead or broken branches from the tree. This process will help reduce the weight of the tree and make it safer to work with during the removal.
Step 6: Cut the Tree Down in Sections:
If the tree is relatively tall or has an irregular shape, consider cutting it down in sections. Begin by making a horizontal cut (not too deep) on the side of the tree facing the drop zone. This cut is known as the “face cut.” Then, make a horizontal cut slightly above the face cut to create a “back cut.” The back cut should be made on the opposite side of the tree, and it should intersect with the face cut to create a notch. The notch helps direct the tree’s fall in the desired direction.
Step 7: Fell the Tree Safely:
With the notch created, make a horizontal felling cut slightly above the bottom of the notch on the opposite side of the tree. As the tree begins to fall, move quickly and safely to your predetermined drop zone.
Step 8: Remove the Stump:
After the tree has fallen, you will be left with a stump. Depending on the size and location of the stump, you may choose to remove it entirely using a stump grinder or hire a professional service for stump removal.
Conclusion:
Removing a rotten dead tree can be a hazardous task, and safety should always be the top priority. If you’re unsure about removing the tree yourself or if the tree is in a challenging location, it’s best to consult with a professional tree removal service. With proper planning, safety precautions, and the right equipment, you can successfully remove a rotten dead tree from your property, ensuring the safety of everyone involved and preserving the beauty of your surroundings.

